Understanding the Importance of Preparation
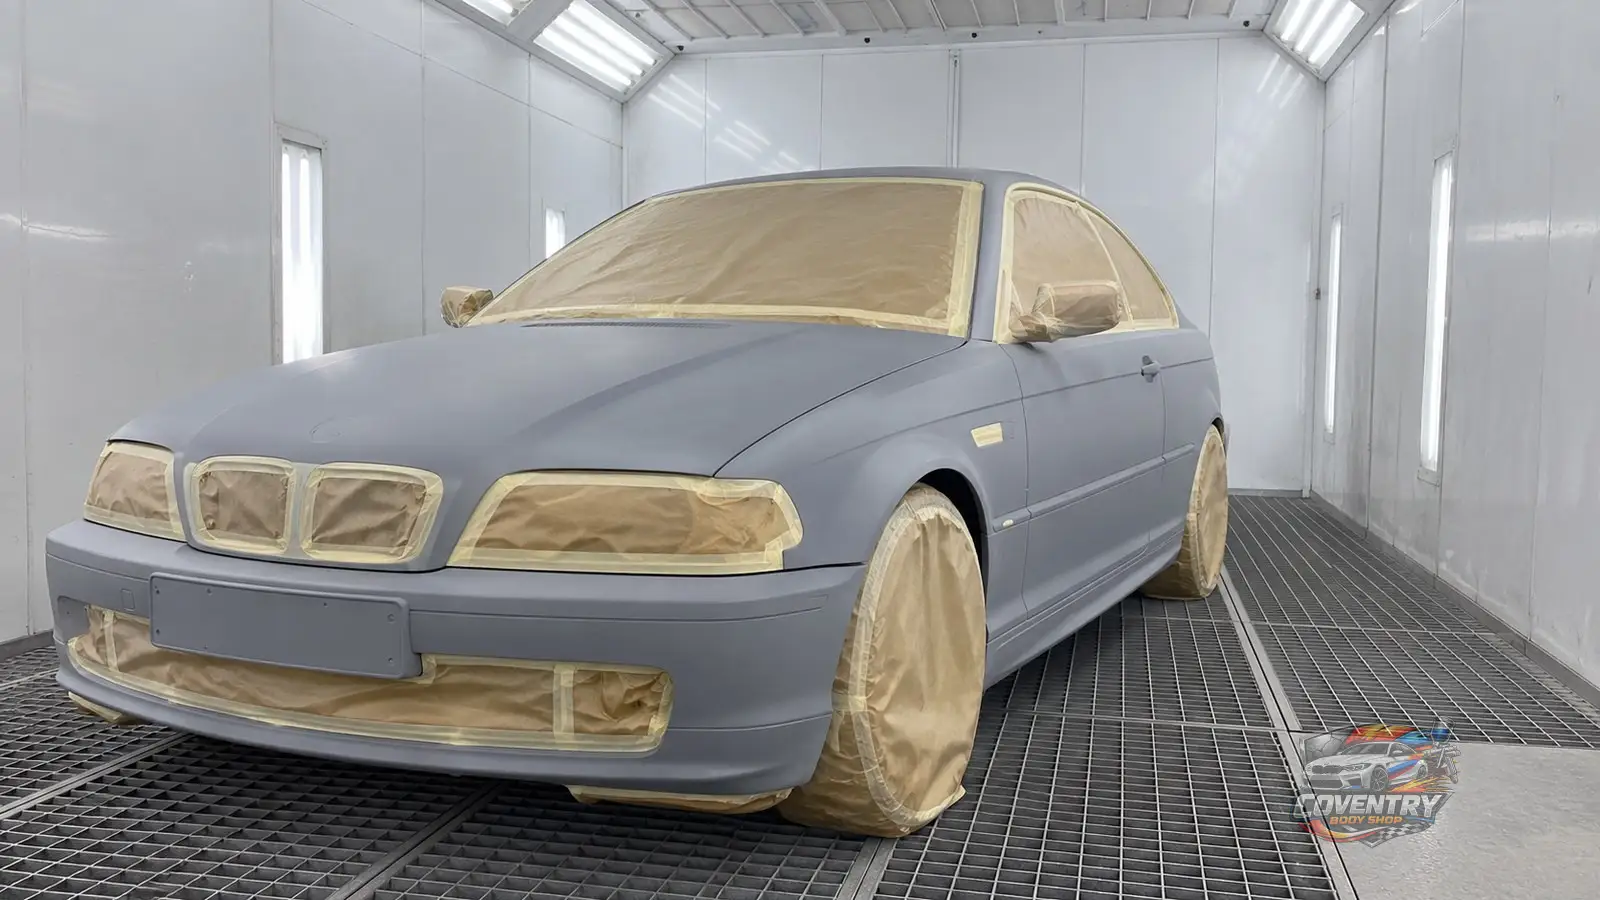
Before any paint goes on a classic, the body is checked for dents, rust and old repairs, because a fault left under the new paint can show through it or bubble up later. Small scuffs and scratches on otherwise sound paint may only need a Smart Repair, but before a full repaint it is worth agreeing how the faults that would show through the new paint will be put right.
Many dents can be straightened. Rust that has gone through the metal is a different job. On a bolt-on panel, such as a door or bonnet, replacing the panel can be an option, and we do replace bolt-on panels. Where the rot is in a welded section, it usually has to be cut out and new metal welded in, and as we do not do metal welding, that work needs doing elsewhere before the car comes in for paint.
Whether old paint can stay as a base for the new paint depends on its condition, how well it is bonded and whether it suits the new paint system. Paint that is cracked, lifting or poorly bonded usually has to come off where it is affected. Whether the rest can stay under the new paint, and what it needs first, is decided at inspection. Before primer, the surface is cleaned of dust and grease. Chrome trim and rubber seals have to be kept free of overspray, either by taking them off or by covering them. On a classic, ask the bodyshop how it will protect them, as old seals and trim can be fragile and hard to replace.
Priming: The Foundation of the Paint Job
Primer gives the colour coat something to grip, and the right one depends on what it goes on and on the paint maker's system. Bare metal usually needs a primer made to bond to it, while a high-build primer can fill small marks so they can be sanded flat.
A sanding primer usually goes on in several coats, with drying times from the paint maker's data sheet. When it has hardened, it is sanded smooth, often with a light guide coat dusted over it so that low spots show up as patches the sanding has not reached.
A ripple or pinhole found in the primer is usually simpler to put right at that stage. Found after the colour goes on, it can mean taking the panel back further.
Choosing the Right Paint System
Many classic cars left the factory in single-stage paint, where the colour and the gloss come from the same paint, with no separate clear coat. Panel repaints today usually use a basecoat for the colour and a clear lacquer on top. Our guide to types of car paint covers acrylic, enamel and urethane paints.
The paint already on the panels and the paint maker's guidance help decide which system suits a car, along with the look the owner wants. Either finish can be polished with care when the dulling is on the surface and enough of the top layer is left, but paint or lacquer that has cracked, peeled or broken down through its depth cannot be polished back. If the car should look as it did when new, ask which systems the bodyshop can offer and agree the finish before work starts.
Mixing can start from the original paint code where one exists, though a classic's current colour may have drifted or been changed by an earlier respray. At Coventry Body Shop, colours are mixed from the paint code with specialist colour mixing, and the work follows the paint maker's and the vehicle maker's methods.
Application Techniques for an Even Finish
All paintwork at Coventry Body Shop is sprayed in our spray booth by our director, a former Aston Martin technician and painter, who is the only painter here. The booth helps keep dust out of the wet paint.
The colour usually goes on in even coats, with the gun held at a steady distance and speed. Too heavy a coat can run or sag, and too light a coat can leave a dry, rough patch. Coats usually need a flash-off time before the next one, and many faults are easier to put right before the lacquer goes on.
On a basecoat finish, the clear lacquer gives the gloss and protects the colour underneath, and it goes on with drying times taken from the paint maker's data sheet for the product used.
Blending and Colour Matching
On a full respray in the car's own colour, the outside panels are all new paint, so blending is usually limited to places where new paint meets old, such as door shuts that are not being painted. Blending matters on a partial respray or a repair, when new paint sits next to old paint that may have faded over decades.
At Coventry Body Shop, colour matching uses the manufacturer's paint code, specialist colour mixing and a spectrophotometer.
Where the repair needs it, the new colour is then blended into the surrounding paint, so the edge between new and old paint is harder to see. On a classic with original paint, ask how far the blend will reach, because it means painting over part of a panel that was sound.
Curing and Final Inspection
The paint maker's technical data give drying times, and some also give a polishing time. The wait before wax, sealant or a ceramic coating should suit both the paint maker's guidance and the product's own instructions, and full curing can take longer still, with the temperature playing a part.
Dust and damp can mark paint while it is still soft. How soon the car can go out in the rain depends on the paint system and how far it has cured, so ask the bodyshop before you collect it.
After drying, the finish can be looked over in good light for runs and dust. Small dust marks and some runs can be levelled and polished, while others mean sanding the area back and painting it again, according to the defect, which layer it sits in and how much top coat is left above it.
Protecting Your Investment with Vehicle Paint Protection
Once the paint has cured, a wax or sealant adds a thin layer on top of it. Both need reapplying from time to time.
A ceramic coating is a thin, cured coating over the paint that can last longer than wax, depending on the product and the care it gets, and it can make the car easier to wash. It does not stop stone chips or deep scratches. We offer machine polishing and paint protection through our paint protection and detailing service, including after a respray once the paint has cured, but not ceramic coating.
Wash the car with a pH-neutral shampoo and a soft mitt, and dry it with a clean microfibre towel after washing. Stored in a dry, ventilated garage, a classic is less likely to rust.
Conclusion: Achieving a Timeless Finish
Before an inspection, gather what you know about the car's history, such as old repair invoices, earlier resprays and any rust treatment, as it helps show what may sit under the current paint.
If you are planning a repaint, send photos of the car by WhatsApp or through the Send enquiry button and ask for an inspection. A small inspection is free; a deeper inspection costs from £200 plus VAT (£240 including VAT), deducted if the repair goes ahead. We give you a quote before any work starts. Our Full Body Respray starts from £1,495 plus VAT (£1,794 including VAT), and the final price for a classic is confirmed after inspection, as it reflects the work the car needs and the paint chosen.
Leave a Comment
Comments
No comments yet.