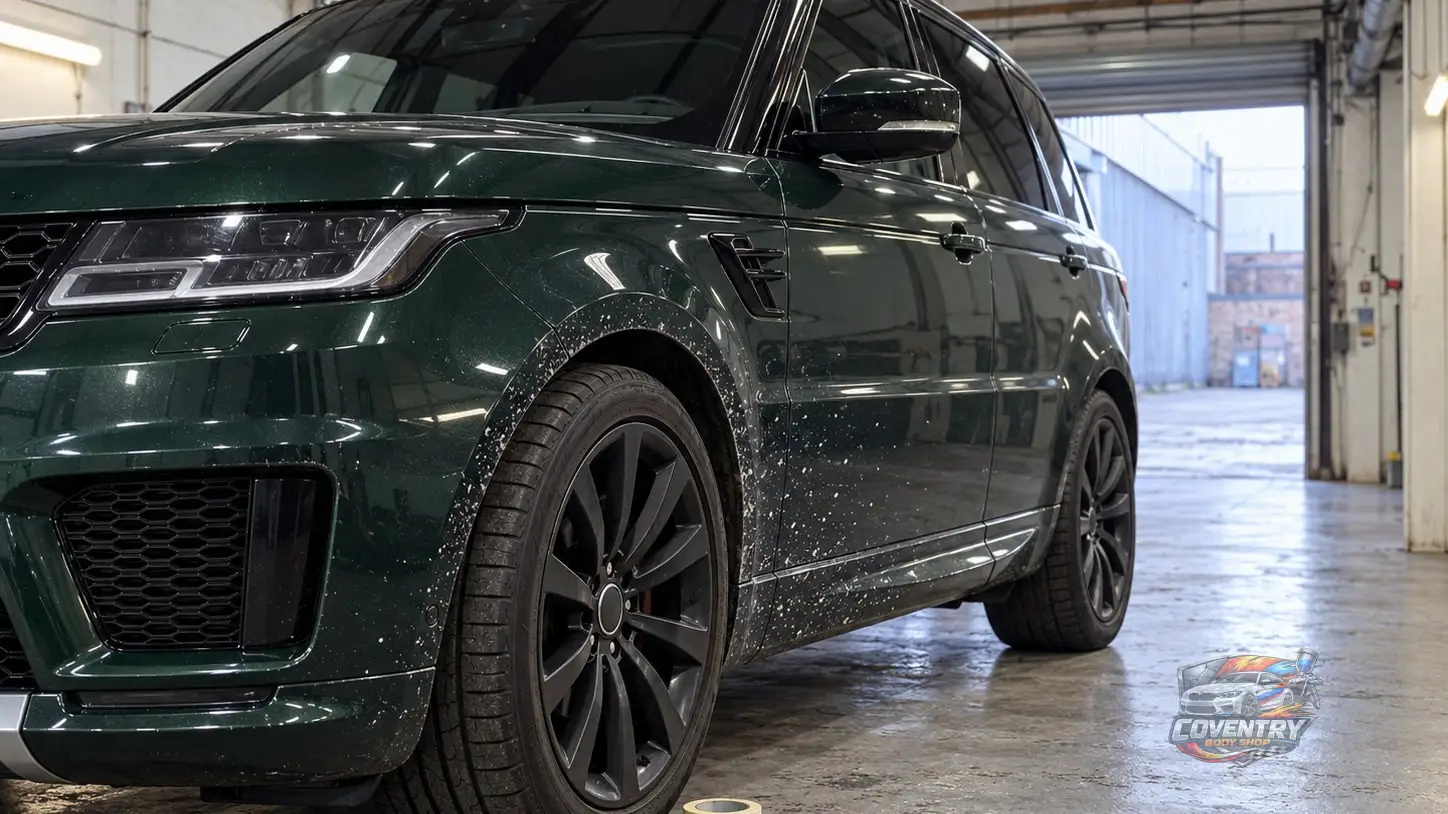
Understanding the Repainting Process for 4x4 Vehicles
A 4x4 that goes off road meets stone chips and branch scratches that a car kept on tarmac rarely sees, so a repaint should be planned around how the vehicle is used.
Start with the condition of the paint now, as dents and faded panels usually need more preparation than a few light scratches. For minor dents and scratches, a SMART repair might be enough, while widespread damage could mean a full body respray. At our workshop a full respray starts from £1,495 plus VAT (£1,794 including VAT) and takes 3 to 7 days.
Next comes the paint system. For a vehicle used off road, ask which paint and lacquer system will be used and how well it stands up to UV light and stone chips.
Preparation: The Foundation of a Flawless Finish
Preparation has a large effect on how well the paint grips. Begin by washing the vehicle, as mud or grit left on the surface can end up trapped under the new paint.
Sanding comes next, to give the primer a key, using the abrasive grades the paint system calls for. Damaged areas may need extra sanding or filler. For deeper scratches or dents, see our Panel Dent Repair & Respray service.
After sanding, wipe the surface with a degreaser, as oil left behind can stop the primer sticking. Then mask off the windows and trim.
Priming: Setting the Stage for Perfection
Primer gives the paint a smooth base to grip. The right one depends on the paint system and the panel material, whether that is metal or plastic.
Apply the primer in thin coats, leaving the time its maker gives between coats, which helps prevent bubbling and peeling later. A vehicle in poor condition may need several coats. When the primer is ready to sand, sand it lightly to take out any small flaws.
The primer's instructions also say how long to wait before the base coat goes on, as colour put over it too soon may not bond well.
Base Coat Application: Bringing Colour to Life
The base coat carries the colour. If you are changing it, GOV.UK lists colour among the changes you must report, so your V5C log book shows the new one. To match the original, the manufacturer's paint code is the starting point, though years of sun can change how the paint looks on the vehicle.
Spray the base coat in thin layers from a steady distance to avoid runs and patchy coverage, and give each coat the drying time the product sets before the next one goes on. The number of coats depends on the colour and the product.
Dust landing on wet paint spoils the finish, and the fumes from many automotive paints are harmful to breathe. Follow the product's safety instructions and spray only with proper ventilation and protective equipment. Our workshop has a spray booth for this work.
Blending and Colour Matching
When only part of the vehicle is repainted, the new paint is often blended into the existing paintwork so the join is hard to see.
The edge of each coat is faded out into the old paint. All our painting is done by our director, a former Aston Martin technician and painter.
Colour matching also matters when repainting individual panels, so ask how the colour will be checked. We check the mixed paint against the vehicle with a spectrophotometer.
Clear Coat Application: Protecting Your Investment
The clear coat is the final layer, and it helps protect the colour underneath from UV light as well as giving the gloss.
Like the base coat, it goes on in layers, with a short wait between coats.
After the final coat, the paint needs time to harden before the vehicle goes back off road.
Quality Control: Ensuring a Perfect Finish
Once the paint has cured, inspect it for runs, orange peel and dust trapped in the finish.
Fixing a fault can mean sanding the area back and reapplying paint or clear coat.
Looking at the panels under different lighting helps show patches where the colour or gloss is uneven.
Final Touches and Aftercare: Maintaining Your New Paint
Fresh paint keeps hardening for a while after the repair, so ask the bodyshop how long to wait before washing the vehicle, waxing it or taking it through mud. After that, use a gentle, pH-balanced car shampoo.
Once the paint is ready for it, paint protection film can help on panels exposed to stone chips, such as the bonnet and the lower doors.
Light scratches from branches that have not gone through the clear coat may polish out with our Scratch Removal & Machine Polish service. For chips, see our Paint Touch-Up service.
To discuss a repaint for your 4x4, contact our Coventry workshop for a written, itemised estimate. A small inspection is free.
Leave a Comment
Comments
No comments yet.